
Honest Ways to Find Students for Private Tutoring
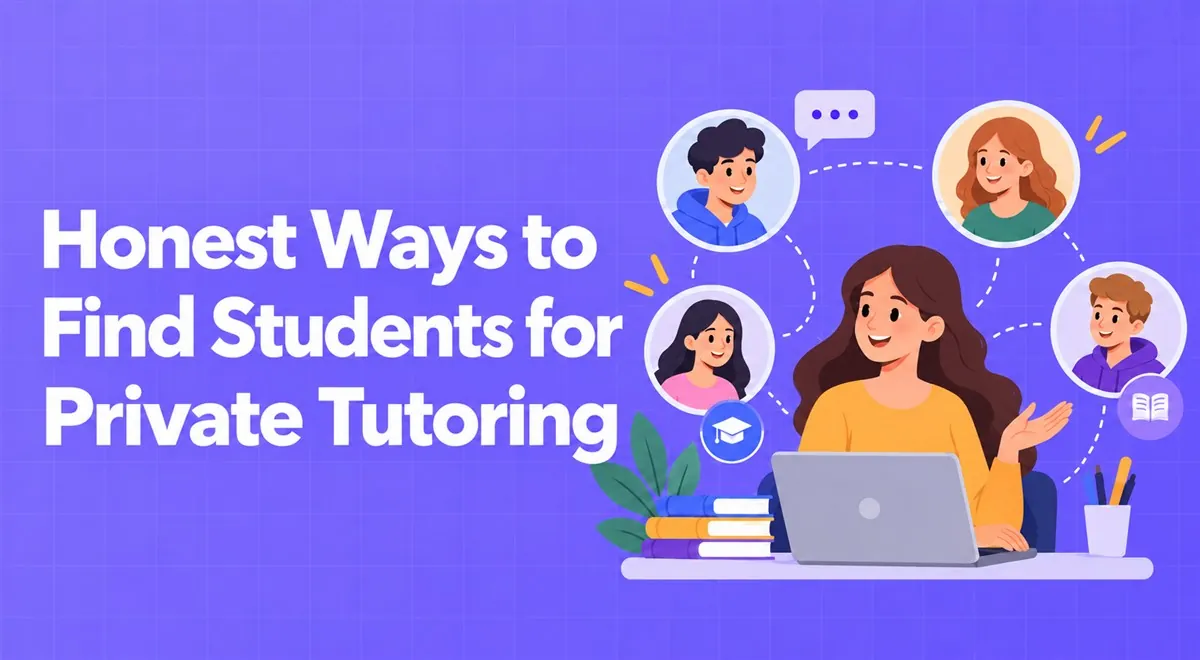
There's no miracle channel. But tutors who start with their own circle and patiently try one or two channels make finding students quite predictable.
The goal of a trial lesson isn't to finish a topic; it's to get to know the student and give them a small win. Here's a simple way to structure the forty-five minutes.
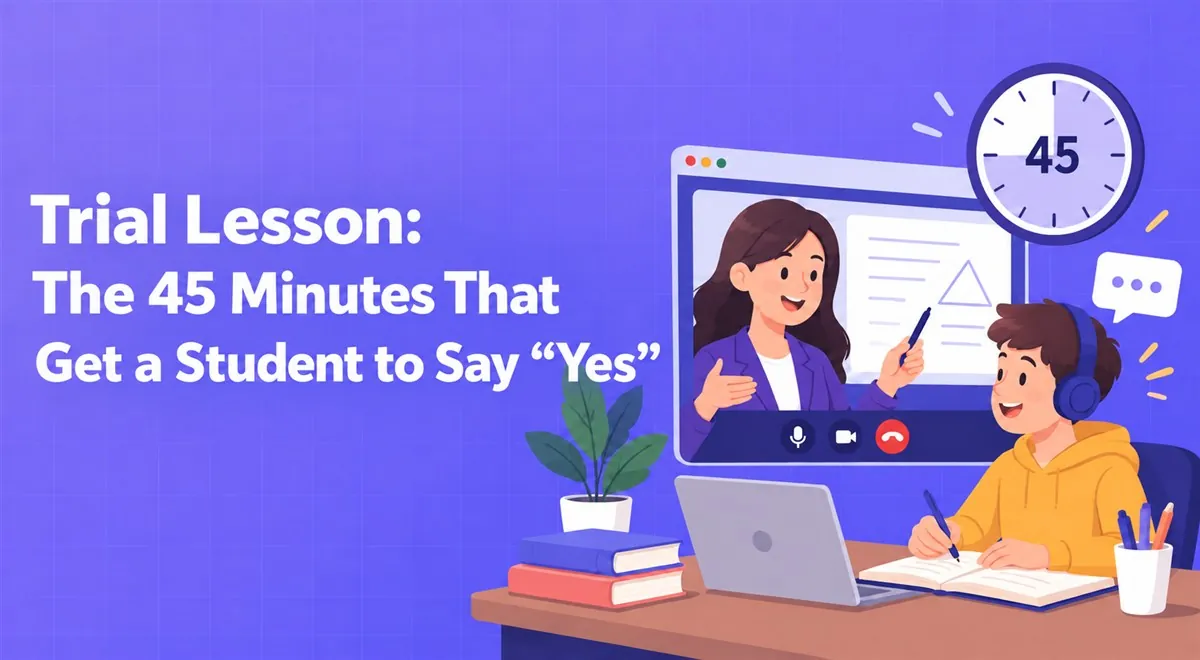
The mistake tutors make most often in a trial lesson is treating it like a presentation. One wants to explain all of one's methods and all of one's experience. Yet the student or parent in front of you is testing one thing: can I work with this person, will something change for me?
The goal of a trial lesson isn't to finish a topic. It's to get to know each other and see whether the student might "understand something for the first time."
Send the lesson link at least a day in advance and state the time clearly. Ask the student for a little information: their grade, the topic they're struggling with right now, and an answer to the question "what do you expect from this lesson?" These three lines let you plan half the lesson.
Also try your camera, microphone, and screen sharing yourself once, ten minutes before the lesson. Don't let the first impression be spoiled by the first five minutes passing with "I can't hear you."
Talking too much, first. Asking questions and making space for the student gains more than explaining. Second, rushing past the price in the first minute or at the very end. State the price in a clear sentence right after the roadmap. Third, ending the lesson with "think it over and get back to me." Instead, make the next step concrete: "We could start Thursday at 7:00 p.m., does that work?"
Send a short message the same day or the next day. Write the lesson summary, a small homework assignment you suggest to the student, and the package options. Have your listing link ready so the process goes smoothly once the student decides. When you create your lesson package on Vedubox Tutor and share your listing link, the student can pay online and get automatic access to the lesson. This cuts the "I sent the IBAN, I forwarded the receipt" exchanges down quite a bit. You can see how it's set up on the how it works page.
That is information too. Ask the reason in a gentle way: is it the price, the time, or the method? You'll learn something from every answer. Most of the time "no" actually means "not now," and polite communication keeps the door open.
This article was prepared by the Vedubox team. For more information about Vedubox Tutor and our other products, you can visit vedubox.com.


Related content, tips, and updates to deepen your understanding and help you discover new ideas