

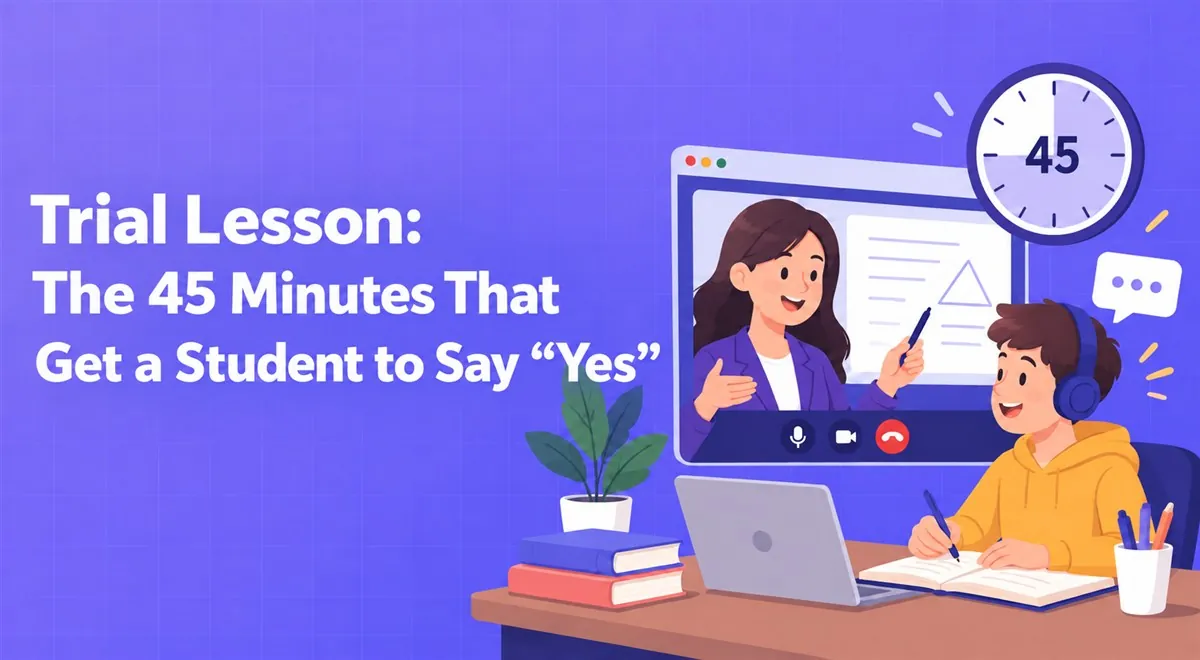
Trial Lesson: The 45 Minutes That Get a Student to Say "Yes"
The goal of a trial lesson isn't to finish a topic; it's to get to know the student and give them a small win. Here's a simple way to structure the forty-five minutes.
The first month is both exciting and chaotic. A simple plan divided into weeks makes it easier to go from finding your first student to a steady lesson routine.

In the first month, two things tire people most: trying to do everything perfectly at once and not knowing what comes first. You already know the subject. What's hard is putting the work around teaching (listing, calendar, payment, materials) into order. You don't have to get this done overnight.
The plan below divides the thirty days into four parts. You can change the order to suit yourself; the only rule is that each week has one "main job."
"I teach math" is too broad for a listing. "Math lessons for 7th and 8th graders, focused on closing basic gaps" is much closer to what a parent is searching for. Fit who it's for, what result it aims at, and what method you use into one sentence. This sentence will be the backbone of your listing, your profile, and your answer on the first phone call.
Think roughly about your fee this week but don't rush to finalize it. We have a separate article on that.
Check your camera, microphone, and internet connection thoroughly once, then leave them alone. A separate corner for lessons and a simple light falling on your face is often enough (see the article on setting up a lesson corner at home).
For lesson management you need three things: a calendar, an organization system for materials, and payment. You can also run these with WhatsApp, a notebook, and bank transfers. It's not a problem in the first weeks, but it starts to annoy you as the number of students grows. On Vedubox Tutor the virtual classroom, calendar, material library, and online payment sit in a single panel; signup is free. You can look at how it works and decide whether it suits you. Whichever tool you choose, let the criterion be this: on the first lesson day you shouldn't have to wonder "where will we do this, how will I get paid?"
This week your goal isn't many students but holding a real trial lesson with two or three people. We covered how to structure a trial lesson in a separate article. After each trial, take two notes: what went well, and what did the student or parent ask? After a few meetings, what you need to change in your listing becomes clear on its own.
Fix lesson days and times as much as possible. When the student doesn't have to ask "when this week?", both you and they feel at ease. Tie the reminder message, the homework note, and a short post-lesson summary to a routine.
At the end of the month ask yourself a single question: which job tires me unnecessarily? Messaging all day, tracking payments, sending materials over and over? Either automate or put a rule on the job that tires you.
You probably won't get an "I'm completely ready" feeling, and that's normal. If you have a regular lesson flow, two or three satisfied students, and a clear idea of what to improve, you've finished the first month successfully.
This article was prepared by the Vedubox team. For more information about Vedubox Tutor and our other products, you can visit vedubox.com.


Related content, tips, and updates to deepen your understanding and help you discover new ideas